-Update-
I modified my original design, swapping the LED onto the other end of the pen and ditching the cardboard. The thinner end plus the see through tube makes this version work magnificently.
This version was harder because I had to drill holes for the led and the wires to go through several parts of the base, and then twist and untwist the base as I screwed it on to keep the wires straight. However the circuit remains the same.

Original Post
After seeing Johnny Lee‘s youtube video on using a wiimote to turn any display into a touchscreen device, I knew I had to try it. I already had a projector and a wiimote, and only needed the software and an IR pen to complete the project.
I went to radio shack and bought an IR LED and some push button switches, and then went to blockbuster. I didn’t find anything, and then as I was leaving something caught my eye. I came back in and bought two candy “pens” with fans on them, for about $3 each. These pens had a switch on the side, had a battery inside them and electronics at the end and I knew they’d be perfect for housing the electronics I bought.
The switch on the side was housed better than any button I could mount manually. At the register, all I had were the candy pens, and the young woman that rang me up looked at me funny and said “these are…fun…”. I thought about explaining it and decided it was somehow less nerdy to really like candy pens than to try and explain how I was going to convert them into a multitouch display IR controller.

I opened the fan pen (enclosed with screws, not glue, perfect!) and it was a simple process to rip out the motor and eat the candy. I tried plugging in other visible LEDs I had lying around but they didn’t work. Disappointed, I tried my wii watch battery with them and they worked. Why didn’t the AA cell work? It turns out my color LEDs were rated at 3 volts, and the IR LED is actually 1.2-1.6V. A single battery is perfect. No resistors or additional batteries are necessary. Perfect!
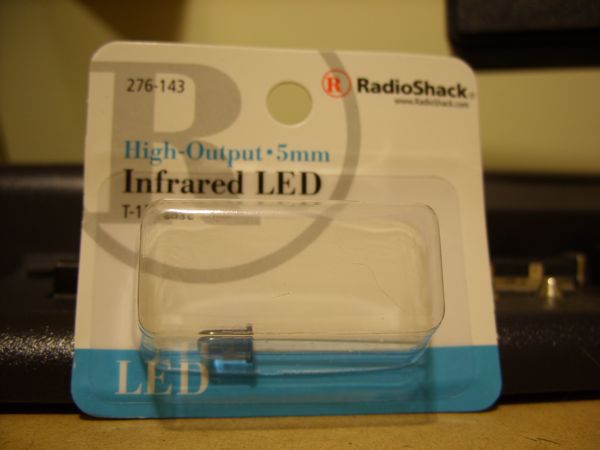
Here is the radio shack IR LED I bought:

And here are the specs:

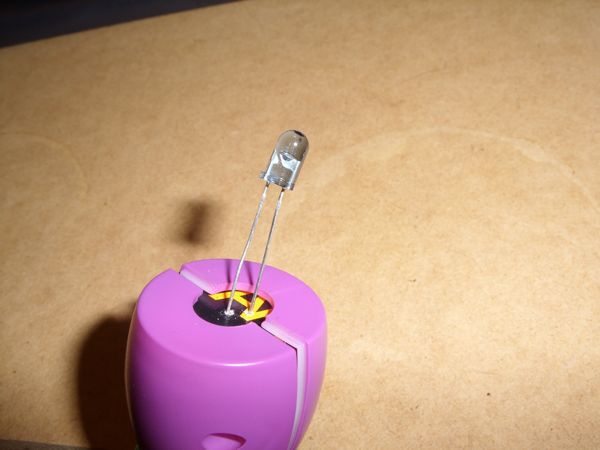
The hole at the top where the fan was was initially bigger than the LED itself, so I took a piece of cardboard and placed it underneath the hole and then stuck the led contacts through that to hold it and separate the contacts.

Putting the LED in:

It was then a simple job to solder the LED to the wire…Just make sure you wire the negative, cathode end of the LED to the wire that connects to the negative end of the battery — it’s the wire on the LED that’s shorter.

I closed up the thing and tested it on the nintendo wii sensor bar sensitivity page and it works great! I couldn’t get bluesoleit to work, but I got Johnny Lee’s software working with the software that came with my laptop, Tobisha Bluetooth Stack.

My only complaint is that the thickness of the top sometimes blocks the wiimote’s view of the LED. I tried flipping the pen around but having the sensor in the back combined with the rotation of the pen with your wrist degrades the accuracy of the sensor. I may redo these to place the LED somewhere else in the pen, but the battery and switch work great!
Anyone that doesn’t understand why on earth you would need an IR pen needs to check out this video: